

What went wrong
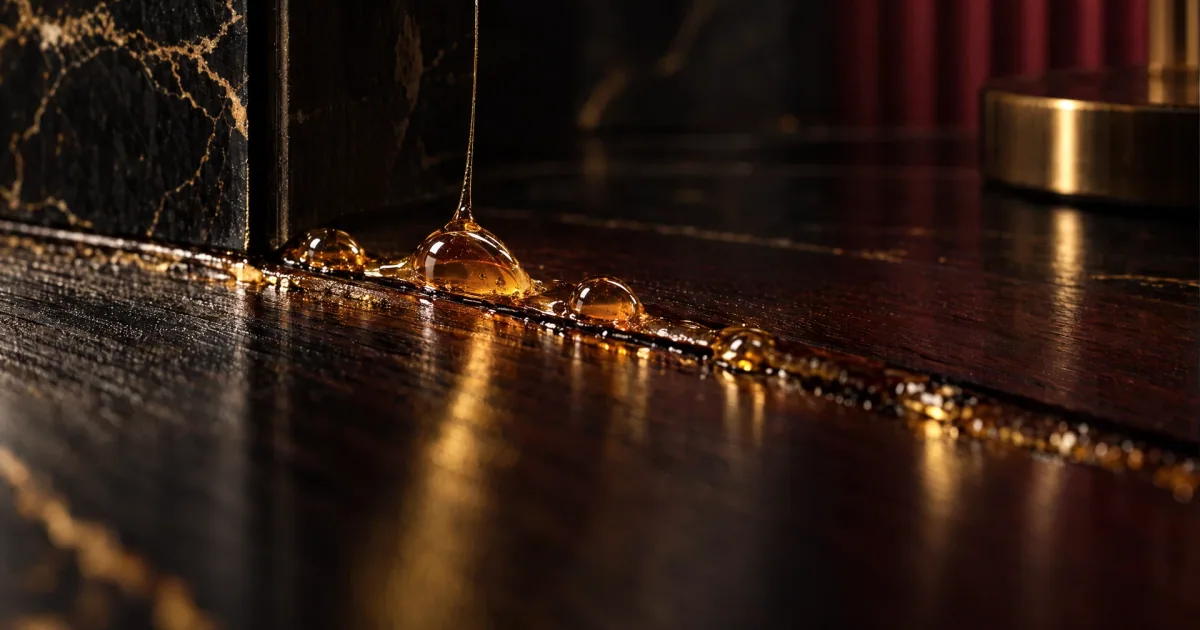
There is too much adhesive under the floor, and it has found the only way out: up through the seams. That is the whole problem. Not a bad batch, not a cursed plank, just more glue than the joint can hold, pushed up by the weight of the floor, the roller or your knees.
The second mistake happens in the first ten seconds. You see a bead of glue, you grab a rag, and you wipe. Now the bead is a thin film spread across the face of the plank and worked into the joint, and that film is drying while you read this.
Where it shows up depends on the floor. Glue-down LVP and engineered planks squeeze adhesive out at end joints and along the long edges, especially in a doorway where the planks were walked on before the glue grabbed. Tile shows thinset in the grout lines, normal up to a point and a problem when it fills the joint. Wood floors with a glued tongue show yellow glue at every seam tapped too hard.
What you do depends on whether the adhesive is still wet, just skinned, or hard. Those are three jobs, and the wet one is the only one where touching it makes things worse.
One more thing: this is a cosmetic mess with an installation cause. If the glue is holding, the floor is probably fine. If a seam has opened or a plank edge is lifting, the problem is bigger than the bead on top.
Why it happened
Adhesive does not teleport. If it is on top of the floor, it went down too thick, or the plank moved, or both.
The trowel notch is a measuring device, not a suggestion. A deeper notch lays a thicker bed, the plank presses down, and the surplus has to go somewhere. Use the notch the adhesive names and hold the trowel at the angle they show; stood up steep, it leaves fatter ridges.
A plank shuffled to line up a seam pushes adhesive into the joint. So does walking on fresh glue-down before it grabs, and so does rolling too hard or too early.
Adhesive has a window between tacky enough to grab and too dry to stick. Spread more than you can cover and the bed stops transferring, so the installer presses harder and the excess comes up.
Most click-lock planks float with nothing in the locking joint, and the instructions decide, not a forum thread. If yours do not call for adhesive, adding it gives the surplus somewhere to ooze and can stop the joint from seating.
Cleaning is product-specific. Urethane, modified thinset, vinyl adhesive and wood glue do not respond to the same things, and the label is the only reliable guide. Mineral spirits are commonly suggested for some adhesive residues, but test on an offcut first. Acetone can attack vinyl, so keep it well off LVP. A filled grout joint on tile is a different problem, covered in tile lippage and joint cleanup.
When to stop and call someone
Stop if the adhesive has set under a tile floor and the grout joints are filled solid, if a plank edge has lifted, or if a seam has opened since the glue went down. Those are installation failures, not cleanup jobs. Stop too if the label names a solvent you cannot ventilate for, or if the floor is over a membrane you cannot identify. If the mess covers a whole room, get someone to look before you attack it with a scraper.