

Fail Beginner-friendly 30 minutes–2 hours, plus a week of watching

A gap opened up in winter. Here's what to do.

Cold air holds less moisture, the heating runs, and a floating floor shrinks. Most winter gaps are seasonal; filling one is usually wrong.

What it looks like

Before and after, in one diagram.

Drag the gold divider, or use the slider underneath. The left side is the fail; the right side is what you are aiming for.

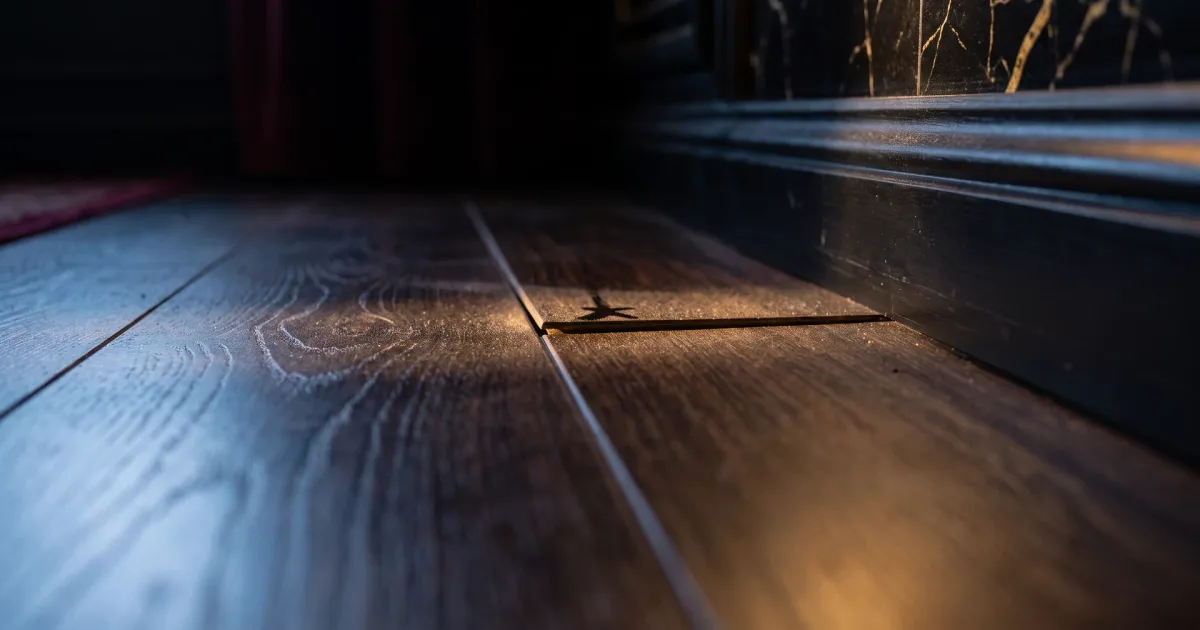
What it sounds like: You kneel down and see a dark line between two planks that was not there in September, wide enough to catch a fingernail.

What went wrong

Your floor did not break. It shrank. Around the first cold snap the heating comes on, the windows stay shut, and the planks lose a little moisture. Each one pulls back by a hair, and across a long run those hairs add up to a line you can see from standing height.

What makes it feel like damage is the inconsistency. One joint is tight, the next has a gap you can catch a fingernail in, and the worst is where the light rakes across it. That is normal for a floor that is not glued or nailed down.

The mistake, and I have made it, is reaching for a tube of filler. A seasonal gap on a floating floor is meant to be there in February and gone by June. Fill it and the filler either crumbles out as the floor moves, or bridges the joint and pushes the pressure into the next seam. That is how a winter gap becomes a summer peak.

A normal winter gap is narrow, even and level. A gap with a lip, a soft edge or a stain is a repair, not weather.

Why it happened

Dry air. Winter air holds less moisture and heating dries it further, so wood-fibre cores shrink. Many makers suggest 35–50% relative humidity; your carton is the number that counts.

A summer peak that became a winter gap. If the floor was tight to the walls in July, it peaked and the locking edges took the load. Crushed edges do not spring back, so by January the joint sits open. A rough edge is damage, not weather.

One gap instead of many. Seasonal shrinkage shows up across a lot of seams at once. A single wide gap at one end of a run, with everything else tight, usually means a plank was never fully clicked.

Water, or a subfloor that moves. A gap with a soft edge, a tide mark, a musty smell or a squeak beside it is not a humidity story. Check for moisture and for a loose subfloor with a squeak hunt before anything cosmetic.

Floor type changes the answer. Laminate moves the most because its core is wood fibre. LVP moves with temperature more than humidity, so a winter gap in vinyl is usually a bad click. Solid hardwood loses width in dry heat and closes in summer.

When to stop and call someone

Stop if the gap has a lip, if a plank rocks underfoot, or if it keeps widening after the room is back in its humidity range. Stop if the edge feels soft or there is a stain, because that is moisture, not weather. And stop if the floor is glued down or nailed: cutting a gap in a fixed floor is a different job with different risks.

The fix, in order

Do these in this order.

Fixed
  1. Measure the gap

    Slide a feeler gauge, or a stack of coins, into the gap at three points. Note the width and whether the edges sit level.

    5 minutes
  2. Read the room's humidity

    Set a hygrometer mid-room, away from radiators, and read it morning and evening. Compare it with your carton's range.

    2 minutes a day
  3. Check the perimeter gap

    Pull the shoe moulding and shine a torch along the plank ends. Laminate commonly wants about 3/8 in (10 mm), but the carton wins; check jambs and toe-kicks too.

    20 minutes
  4. Decide: fill or re-lay

    Do not fill a seasonal end gap on a floating floor. If the click is bad, unzip the run with a pull bar and re-lay it.

    30 minutes–2 hours
  5. Mark it and watch it

    Pencil a tick on each side of the gap and photograph it with a ruler in frame. Check again in a week.

    5 minutes, then a week

Before you start

Tools and supplies.

Tools

  • Digital hygrometer
  • Feeler gauge, or a stack of coins
  • Oscillating multi-tool with a flush-cut blade
  • Pull bar
  • Tapping block
  • Vacuum with a crevice tool
  • Utility knife

Supplies

  • Colour-matched flexible filler, only for glued-down or solid floors
  • Spacers
  • Replacement planks from the same run
  • Painter's tape

Buy the replacement planks before you cut anything. Matching a discontinued run is the hard part, not the labour.

Next time

How to prevent it.

01

Keep the humidity steady

A hygrometer and a humidifier beat filler. Many makers suggest 35–50%; your carton wins.

02

Leave the gap, then cover it

Spacers stay in until the trim goes on. The trim is nailed to the wall, not the planks.

03

Buy a spare box

Runs get discontinued. One spare box turns a re-lay into an afternoon.

The questions people actually ask

Before you start cutting.

Will the gaps close on their own?

Often, if it is seasonal shrinkage and the room gets its moisture back in spring. If it is still open in humid weather, suspect the installation.

Can I fill laminate gaps with putty or wax?

Not on a floating floor: a hard filler cracks out or bridges the joint. Save it for glued-down or solid floors, where the surface is not going anywhere.