

Fail Some patience 30–60 minutes to check and reset a few tiles, a day for a whole floor

Lippage is decided before the thinset sets.

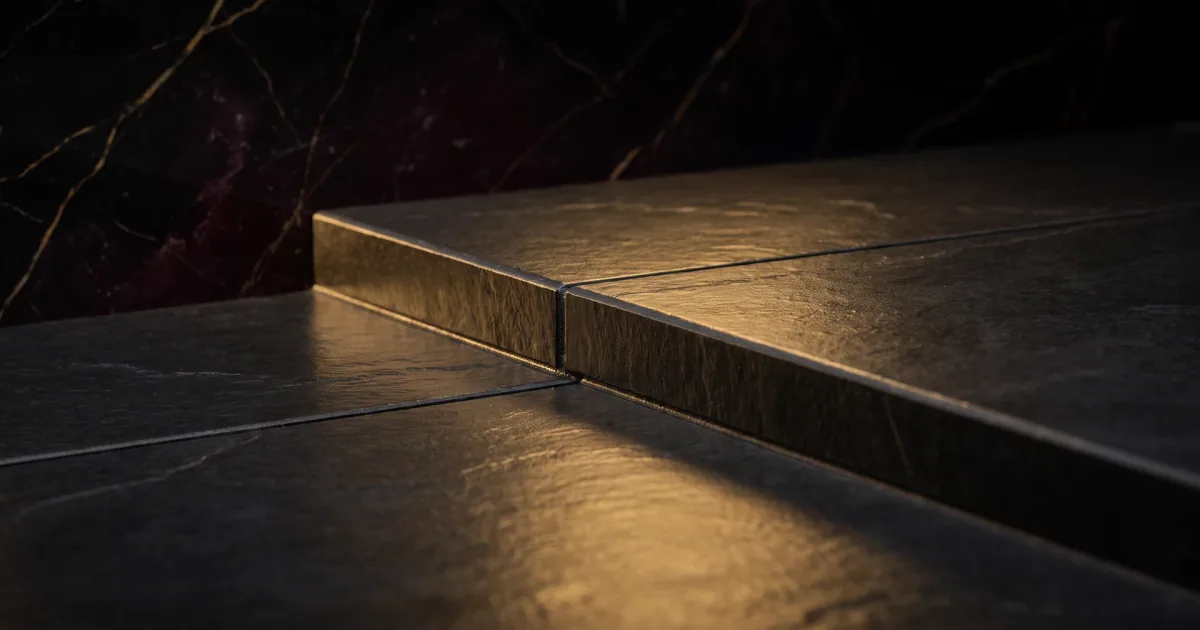
Lippage is one tile edge standing proud of the tile beside it. It comes from the substrate, the thinset or the tile itself, and it is almost impossible to fix once the thinset cures.

What it looks like

Before and after, in one diagram.

Drag the gold divider, or use the slider underneath. The left side is the fail; the right side is what you are aiming for.

What it sounds like: You run a fingertip across the joint and it catches on a lip, then you crouch down and see the shadow line along one edge of the tile.

What went wrong

You set the tile, stood up, and one edge sits proud of the next. That step is lippage, and by the time you see it clearly, the thinset underneath is usually already going off.

Lippage is not a grout problem. One tile edge is higher than its neighbour, so the two are not sharing a plane. Your eye catches the shadow line, your sock catches the edge, and a chair leg will find it every time.

Lippage is decided while the mortar is wet. A tile that is a fraction high when you press it down stays a fraction high forever. Grout will not lift the low tile, and pressing it later will not move it.

You can check it as you go. Run a straightedge across the joint in both directions, then crouch and look across the floor with the light behind you. Do it every few tiles, not at the end of the day.

Why it happened

Lippage almost always comes from one of six places, and only one is the tile itself.

The substrate is not flat. This is the big one. A hump under a tile lifts one corner and drops the opposite edge, and you cannot trowel your way out of it. Check with a long straightedge before anything is mixed.

The floor deflects. A timber floor that bounces lets the tile move, and tile does not bend. Stone needs a stiffer floor than ceramic, so what worked for ceramic may not work for stone.

The notch is too small. Large-format tile needs a deeper notch, because the mortar has to fill a wider, flatter space. The bag and the carton both name a notch size; use theirs.

Nobody back-buttered. Ridges alone leave voids, and the tile rests on the tops of them instead of bedding in. A flat layer on the back of the tile gives full contact.

The thinset skinned over. Mortar that has lost its sheen will not bond or let the tile settle, so the tile stays high and hollow.

The tile is warped. Large-format tile often has a slight bow from firing, and two bowed tiles set face to face always show a step at the joint. A brick-bond pattern hides a bow; a stacked pattern advertises it.

When to stop and call someone

Stop if the tile has cured and the step is more than slight, especially on stone. Grinding a cured floor is a specialist job with diamond pads and a real risk of cutting the glaze. Stop if tiles are cracking, if the floor bounces, or if lippage covers a large area. Stop too with in-floor heating or a wet room, where lifting a tile breaks the waterproofing. Some jobs are worth paying for.

The fix, in order

Do these in this order.

Fixed
  1. Check the substrate first

    Lay a long straightedge across the floor in several directions and look for daylight underneath. Grind or patch the high spots before any thinset is mixed, because no trowel technique fixes a floor that is not flat.

    20 minutes
  2. Dry-lay and check the tile

    Set a few tiles dry, tight together, and run a straightedge across the faces. Rock each one and look for a bow. If the batch is warped, take it back before you open the thinset.

    15 minutes
  3. Back-butter every tile

    Flat-trowel a thin, even layer of thinset on the back of the tile with the straight edge of the trowel. The floor ridges and the flat layer collapse into each other, which gives full contact.

    5 minutes per tile
  4. Set with clips and wedges

    Press the tile down and work it a little across the ridges, then slide leveling clips under the edges and drive the wedges home. The clips pull neighbouring edges into the same plane while the thinset is still soft.

    10 minutes per tile
  5. Check before the thinset cures

    Run a straightedge across every joint and a fingertip along the edge while the thinset is workable. If a tile is proud, lift it, scrape both surfaces clean and re-set it. Once it cures, that window is gone.

    5 minutes per tile

Before you start

Tools and supplies.

Tools

  • Notched trowel
  • Leveling clips and wedges
  • Rubber mallet
  • Margin trowel
  • Long straightedge
  • Wet saw
  • Grout sponge

Supplies

  • Thinset mortar
  • Clean water
  • Tile spacers
  • Leveling system clips

Buy the replacement planks before you cut anything. Matching a discontinued run is the hard part, not the labour.

Next time

How to prevent it.

01

Flatten the floor before you flatten the tile

A straightedge check and a bag of patch costs an hour. Skip it and lippage starts under the tile, where you cannot see it.

02

Match the notch to the tile

Big tile and stone need a deeper notch and a flat back-buttered layer. The bag and the carton both specify a notch; follow those.

03

Never set into skinned thinset

If the surface has lost its sheen and a wet finger does not stick, scrape it off and comb fresh. Skinned thinset never bonds.

The questions people actually ask

Before you start cutting.

Can grout hide lippage?

No. Grout fills the joint, and a filled joint makes the step more obvious because it draws a clean line beside it. A darker grout can soften the look, but your toe will still find the edge.

Can I grind a lipped edge down after it cures?

A pro can, with a diamond pad and a steady hand, but it is dusty, slow work and it can cut through the glaze or the print on porcelain. Replacing the tile is usually the more honest fix.