

 Flooring.lol Editor
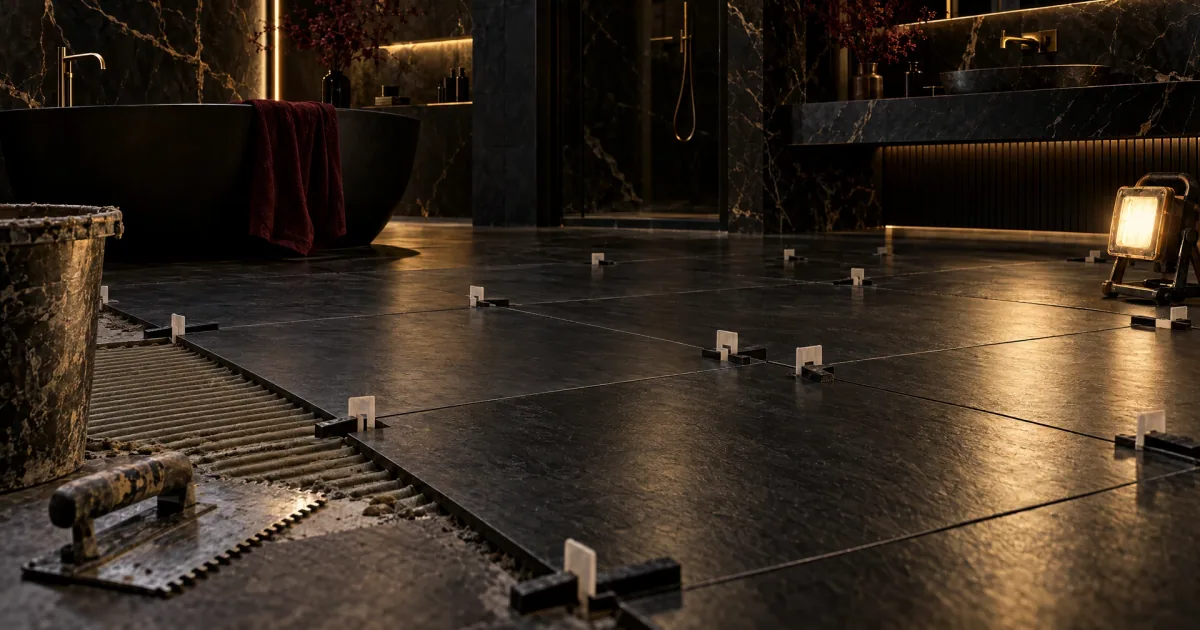
Lippage is the reason a new tiled floor catches the light wrong. One tile corner sits a millimetre proud of its neighbour, the grout line becomes a tiny cliff, and every sock in the house finds it in the dark.
By the time you can see it from standing height, the thinset is hard. That is the unfair part. Lippage is decided in the minutes after a tile goes down and then lived with for as long as the floor is there.
Almost all of the prevention happens before the first tile is set: checking the tiles, flattening the floor, mixing a batch you can use before it skins over. Here is the order that keeps the edges level.
What lippage is, and why big tiles make it worse
Lippage is the height difference between the edges of two adjacent tiles. That is the whole definition. It is not a wavy tile face, not a crooked grout joint, and not a floor that slopes.
A floor can be perfectly level and still have lippage, because level is about gravity and lippage is about the joint. You feel it before you see it: a corner that catches a fingernail. Then you see it in raking light, which is any low sun through a window at four in the afternoon.
A large-format tile makes it worse. A small bow in the middle of a 12 by 24 in tile becomes a high corner at the joint, and the longer the tile, the more the bow is multiplied at the edges.
You cannot press a big tile down evenly with your hands either. The middle sags into the thinset and the corners stay up. Narrow grout joints make it more visible, because there is less grout to soften the step between tiles.
Check the tiles before you open the thinset
The test is two tiles and your hands. Take a pair from the same box and hold them good faces together.
- Press down on one corner and watch the opposite corner. If they rock, the faces are not flat.
- If the pair rocks, swap one tile and repeat. Two or three pairs tell you whether it is one bad tile or the whole batch.
- Stand a straightedge across the face of a single tile and hold it up to the light. Daylight under the middle is a dome; daylight under the ends is a cup.
Then look at the back of the tile. Most have a small arrow, and it points the same way through the box. If the tiles are slightly bowed, laying them all with the arrows pointing the same direction makes the edges line up instead of fighting each other. It will not rescue a bad batch, but it stops the corners alternating high and low.
If the rock test is bad across a whole box, take them back before you cut one. That is a conversation with the supplier, not a thinset problem.
Flat, not level, and stiff enough
Tile does not need a level floor. It needs a flat one. A floor that slopes toward a doorway can take tile happily; a hump in the middle gives you lippage no matter how careful you are.
Check with the longest straightedge you can borrow, in several directions, and mark the high spots with a pencil. A high spot has to come down, by grinding a slab or sanding a timber subfloor; a low spot gets patched with a compound rated for the job.
Then there is the floor under the floor. Tile is stiff and brittle; the structure beneath it is not. A bouncy floor flexes under a footstep, the tile does not, so the thinset takes the movement and the grout line cracks. Deflection is the word for it, and it is the one thing here you cannot fix from above.
Ceramic is the more forgiving of the two common families. Stone tile, the marble, travertine and slate end of the shelf, needs a stiffer floor than ceramic, because stone is weaker in bending and full of natural veins that start a crack. No number worth quoting survives contact with your house; what matters is joist size, spacing, span and how many layers of subfloor are screwed down.
If the floor bounces when someone walks past, if the existing tile is cracked in a line, or if you plan stone over a springy timber floor, get advice before you mix anything. That is a call-a-pro conversation, not a trowel problem. The prep articles go deeper on flatness.
Thinset: notch, back-butter, open time
Notch size follows the tile. A small tile needs a shallow notch; a large one needs a deeper notch, because there is more void underneath and the tile will not bend down into it. A 1/4 in square notch is common for small tile and a 1/2 in square notch for large-format floor tile, but the bag and the tile maker’s instructions win over anything you read here.
Back-buttering is a thin flat coat of thinset on the back of the tile, applied with the flat side of the trowel. On a large tile it is the difference between full contact and four dabs at the corners.
Comb the thinset in straight lines in one direction, not swirls. Air needs a path out from under the tile, and straight ridges give it one.
Open time is the quiet killer. Thinset that has sat long enough to form a skin will not bond, however good it looks. Touch it with a finger: if the ridges do not transfer, scrape it off and mix a fresh batch. Small batches, mixed to the consistency of soft peanut butter, beat one big batch that goes off while you are cutting a tile.
Never add water to a batch that has started to stiffen. You are not reviving it; you are making weak thinset that will look fine until it does not.
Clips and wedges: what they do and do not do
Leveling clips and wedges hold two adjacent tile edges at the same height while the thinset sets. On large-format tile that is the closest thing to insurance this job has.
They do not flatten a warped tile, fix a hump in the floor, or replace back-buttering and a full bed of thinset.
They can also make things worse. A clip tightened hard can lift the tile edge off the bed, so a tile with too little thinset under it ends up hollow at the joint. Use the clip made for the tile thickness, snug it rather than crank it, and check the joint with a straightedge anyway.
Check as you go, with a straightedge and a torch
The trick to lippage is catching it while the thinset is soft. That means checking every few tiles, not at the end of the row.
- Set three or four tiles and wipe the joints.
- Lay a 4 ft straightedge across the joints, in both directions.
- Shine a torch along the floor at a low angle. Raking light exaggerates every edge, which is exactly what you want.
- Run the flat of your hand across the joint, carefully.
- If a corner is high, lift the tile now, scrape both surfaces, re-comb and re-set it.
A pencil mark on the offending tile stops you losing track of it, and finishing a small area before moving on beats laying a whole room and hoping.
Cause, tell, prevention
| Cause | What it looks like | Prevention |
|---|---|---|
| Warped or bowed tile | The same corner sits high on every tile, often in a repeating pattern | Rock test face to face; align the arrows; return a bad batch |
| Hump or dip in the substrate | A high or low spot repeats across the floor in a line | Straightedge the floor; grind or patch first |
| Notch too small, no back-butter | Hollow sound under a corner, thinset not touching the tile | Match the notch to the tile; back-butter; lift one tile to check coverage |
| Skinned-over thinset | The tile will not settle and the ridges do not transfer | Mix small batches; scrape and re-comb; respect the open time |
| Clips over-tightened | Edge lifted, hollow middle, tile held off the bed | Snug, not cranked; check with a straightedge |
| Floor deflection | Grout cracks in a line, tiles rock, lippage returns | Check joists and subfloor; stone needs a stiffer floor than ceramic; add plywood or call a pro |
Fix it now, or pay someone later
Before the thinset cures, a high tile is a five-minute problem. Lift it, scrape the thinset off the tile and the floor, comb fresh and set it again. Do not slide a tile that has started to grab; you will drag a ridge of thinset under it and make the next joint worse.
After it cures, the options get expensive. Grinding a tile edge flat is a pro job with a dust shroud and a diamond pad, and it can leave a dull stripe on a glazed tile that never quite disappears. Breaking out a set tile risks its neighbours, and matching a discontinued one is its own adventure.
A little lippage can be softened with grout. A cliff cannot.
If the high edges are everywhere, or the floor moves when you walk on it, stop and get someone to look. Seven signs you need a pro is a decent place to check your instincts. If you are staying on the job, the tool list covers what is worth buying, and the tile lippage fail page shows what happens when it goes the other way.